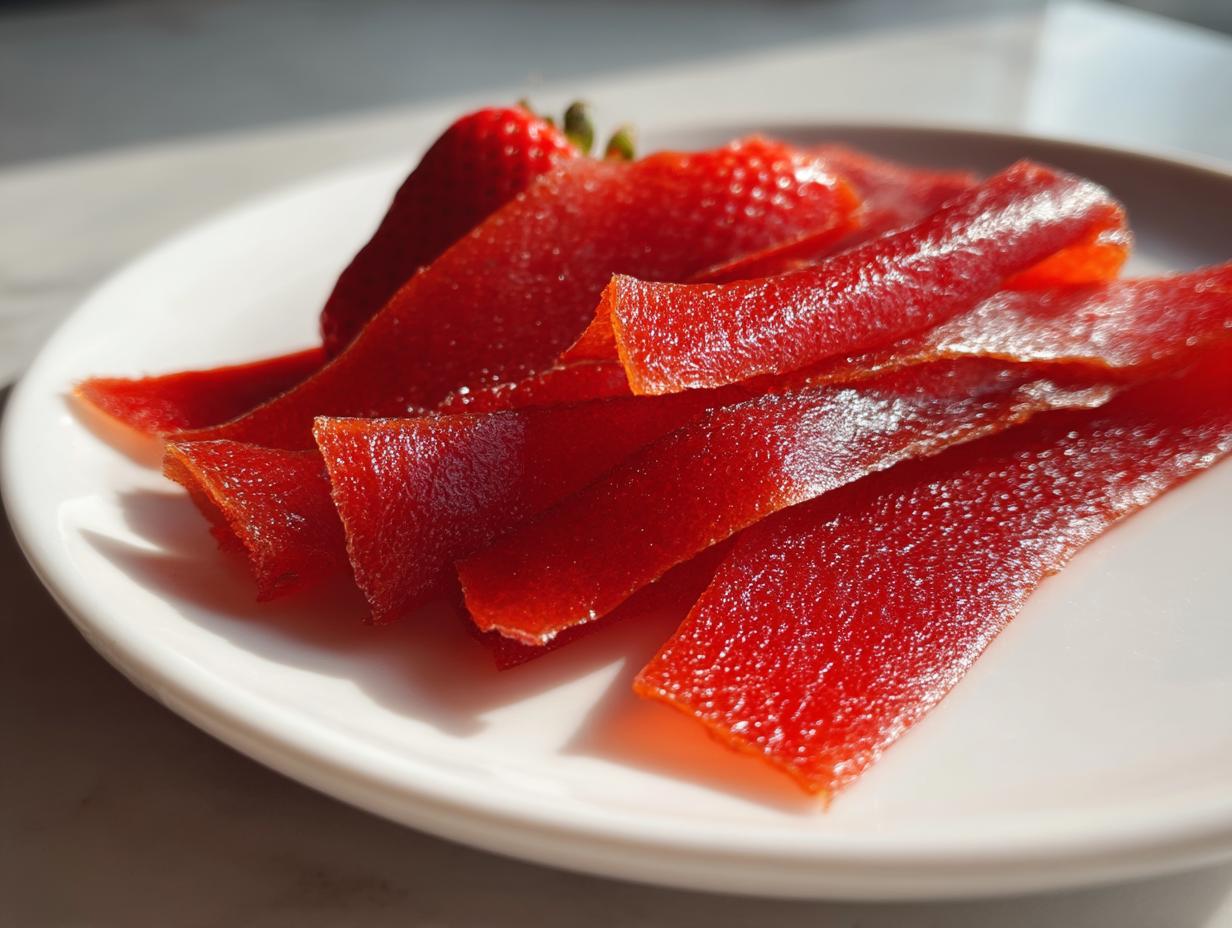
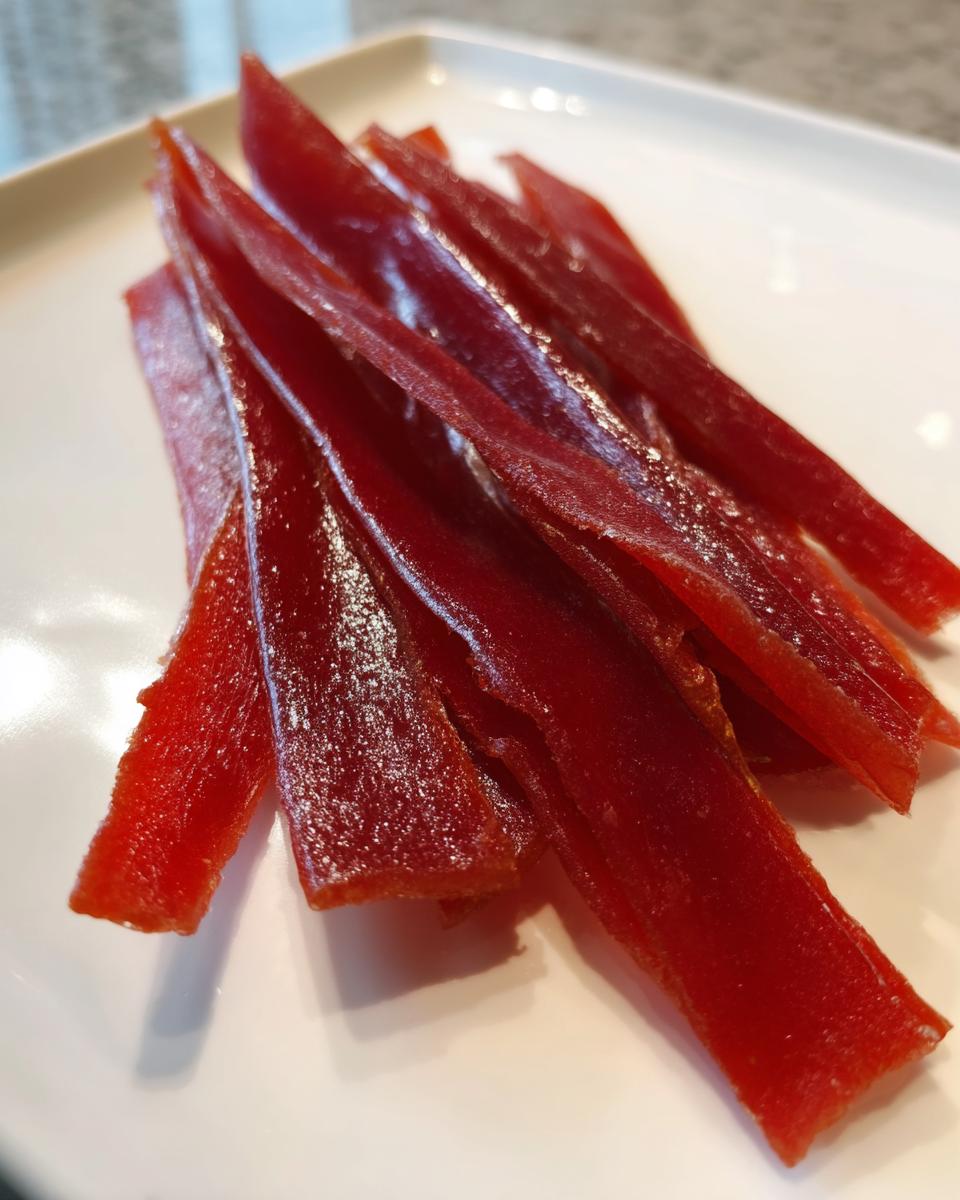
You know those days when you’re craving something sweet but don’t want to feel guilty about it? That’s exactly why I fell in love with making strawberry fruit leather! It all started last summer when my neighbor’s strawberry patch went wild—I had buckets of berries and needed creative ways to use them. This simple, healthy snack became my go-to solution. Just three ingredients (yes, really!) transform into these gorgeous, chewy strips that taste like pure strawberry sunshine. No weird additives, no excessive sugar—just the natural goodness of ripe berries dried to perfection. My kids now beg me to make batches every time strawberries hit peak season, and honestly? I don’t mind one bit. It’s the easiest way to capture summer’s flavor in a snack you can toss in lunchboxes or backpacks without a second thought.
Ingredients for Strawberry Fruit Leather
Here’s the beautiful simplicity of this recipe—you only need three things to make magic happen! Grab 2 cups of fresh strawberries (hulled and washed, please—no one wants leafy bits in their snack). A teaspoon of lemon juice brightens everything up, and just a tablespoon of honey or maple syrup if your berries need a little extra sweetness. That’s it! I promise you won’t miss the long ingredient lists from store-bought versions.
How to Make Strawberry Fruit Leather
Making strawberry fruit leather is ridiculously easy once you get the hang of it. The secret? Patience during the drying process! But let me walk you through each step so you end up with perfect, chewy strips every time.
Preparing the Strawberry Mixture
First things first – get that blender ready! I toss in my hulled strawberries (pro tip: if they’re super ripe, you might not even need the honey), lemon juice, and just a drizzle of sweetener if I’m using any. Blend until it’s completely smooth – no chunks allowed here! I usually let it run for about 30 seconds. The mixture should pour like a thick smoothie. Too thick? Add a teaspoon of water. Too thin? Maybe your berries were extra juicy – just know it’ll take longer to dry.
Baking and Drying Process
Here’s where the magic happens. Line your baking sheet with parchment paper – trust me, skipping this step leads to heartbreak when you try to peel your fruit leather off later! Pour your strawberry puree onto the sheet and spread it evenly with a spatula. Aim for about 1/8 inch thickness – any thicker and it’ll take forever to dry. Pop it in the oven at that low 175°F temperature and let it work its magic for 3-4 hours. You’ll know it’s done when it’s no longer sticky to the touch but still flexible. I check mine every hour after the 3-hour mark. The edges dry first, so don’t panic if the center takes a little longer!
Why You’ll Love This Strawberry Fruit Leather
Let me tell you why this recipe is an absolute game-changer in our house:
- Healthier than store-bought: No weird additives or excessive sugar—just pure strawberry goodness that actually counts as a serving of fruit!
- Kid-approved magic: My picky eaters go crazy for these sweet, chewy strips (I may or may not hide extra veggies in the mix sometimes).
- Endlessly customizable: Add chia seeds for crunch, mix in raspberries for tartness, or skip the sweetener entirely if your berries are perfectly ripe.
- Pantry superhero: Unlike fresh berries that spoil quickly, these last weeks in your snack drawer without any preservatives.
Trust me, once you taste that bright strawberry flavor, you’ll never go back to plastic-wrapped fruit snacks again!
Tips for Perfect Strawberry Fruit Leather
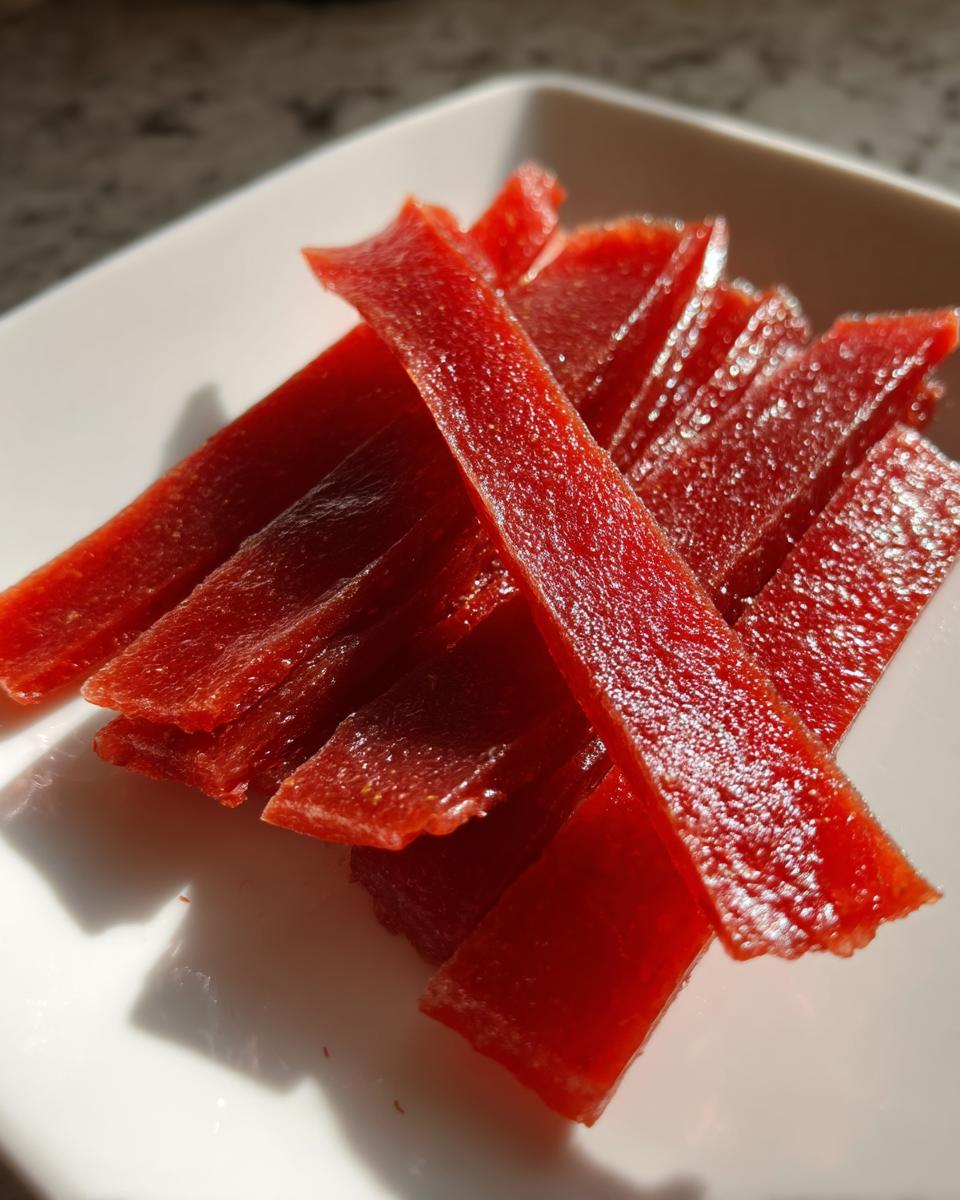
After countless batches (and yes, a few disasters), I’ve learned the tricks to foolproof strawberry fruit leather every time! First, spread your puree evenly—a slightly tilted baking sheet helps self-level the mixture. Uneven thickness means some parts will crisp up while others stay sticky. If you’re tired of parchment paper wrinkles, try a silicone baking mat instead—it lays completely flat and peels off like a dream.
Watch for over-drying! That first time I left it in too long? Let’s just say I made strawberry “chips” instead. Check at 3 hours—it should peel cleanly but still bend without cracking. And here’s my secret: if your edges dry faster, just trim them off with scissors and let the center keep baking. No berry left behind!
Strawberry Fruit Leather Variations
Once you’ve mastered the basic recipe, it’s time to play! I love stirring in a tablespoon of chia seeds for extra texture and omega-3s—just let the mixture sit for 10 minutes to thicken before spreading. Mixing in raspberries or blackberries creates gorgeous marbled colors and tart contrast. Feeling fancy? A pinch of cinnamon or vanilla extract adds cozy depth. My neighbor swears by adding a teaspoon of coconut oil for richness. The possibilities are endless—just keep the total fruit amount the same and let your creativity run wild!
Storing Your Strawberry Fruit Leather
Here’s the best part—this stuff keeps like a dream! I roll up my cooled strawberry fruit leather in parchment paper (like little fruit cigars, if you will) and tuck them into an airtight container. They’ll stay perfectly chewy for up to 2 weeks at room temperature—if they last that long! Just keep them away from moisture, or they’ll get sticky. For longer storage, pop them in the freezer between parchment sheets—they thaw in minutes and taste just as bright and fruity as the day you made them.
Strawberry Fruit Leather FAQs
Can I use frozen strawberries? Absolutely! Just thaw them completely and drain any excess liquid first. Frozen berries actually work great because they’re often picked at peak ripeness—your fruit leather might turn out even sweeter!
How thin should I spread the mixture? Aim for about 1/8 inch thick—the thickness of a sturdy tortilla. Too thick and it’ll take forever to dry; too thin and it might become brittle. I use the back of a spoon to spread evenly while humming my favorite song (three minutes usually does the trick).
Why is my fruit leather sticking to the parchment? Oh no! Next time, try a light spritz of cooking spray on the parchment first. If it’s already stuck, pop it back in the oven for 5 minutes—the warmth usually loosens it right up.
Can I make this in a dehydrator? You sure can! Follow the same prep steps, then dry at 135°F for 4-6 hours. Dehydrators give you more even drying, but I love how my oven fills the whole house with that sweet strawberry aroma.
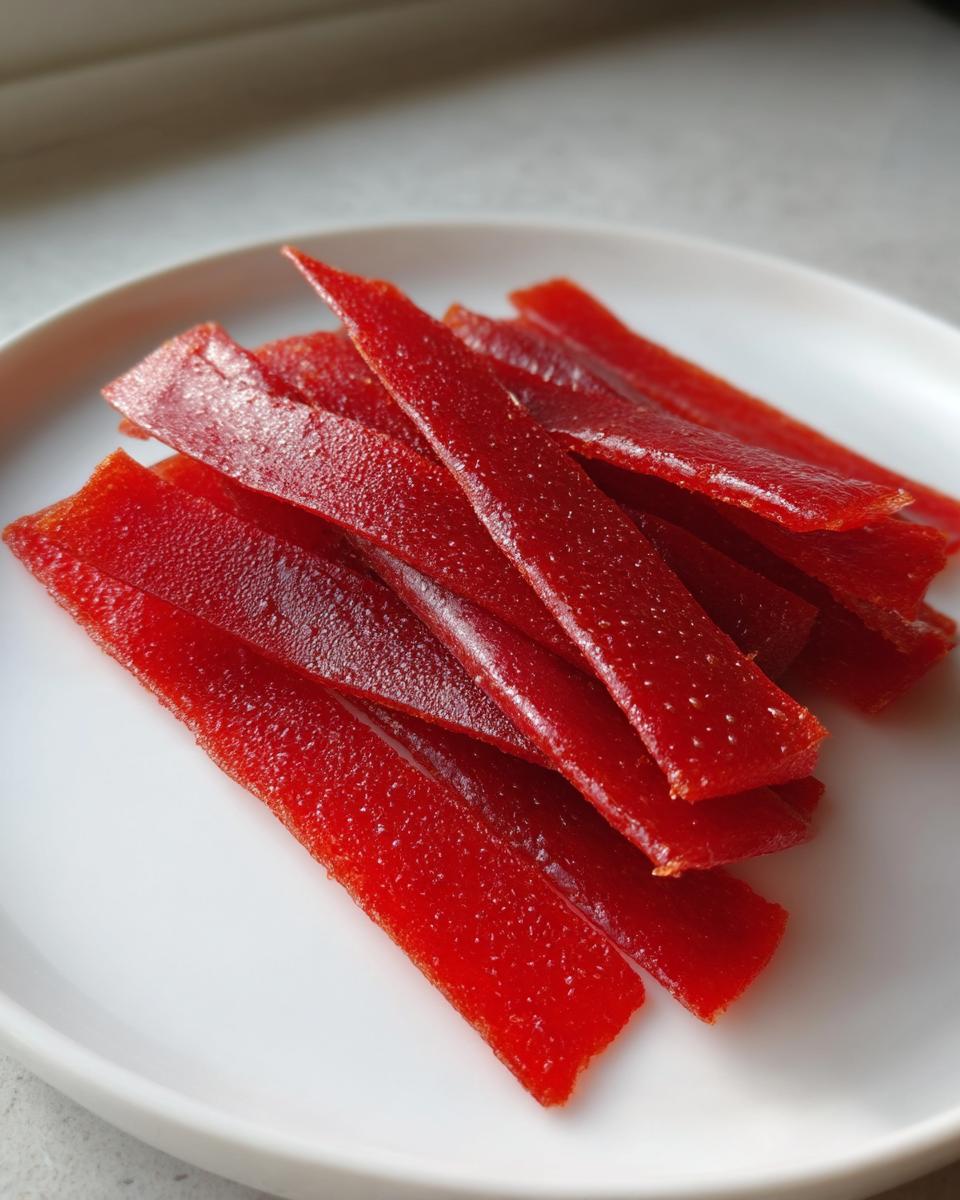
How do I know when it’s done? It should peel easily from the parchment without leaving sticky residue. Bend a corner—properly dried fruit leather will flex without cracking. If it snaps, you’ve gone too far (but hey, strawberry chips still taste great crumbled over yogurt!).
Nutritional Information
Just a quick note—these numbers are estimates based on my basic recipe with honey. Your exact counts will vary depending on your berries’ sweetness and any tweaks you make. But hey, when the main ingredient is pure fruit, you know you’re snacking smart!
Share Your Strawberry Fruit Leather Experience
I’d love to hear how your strawberry fruit leather turns out! Did your kids go crazy for it like mine? Found a brilliant flavor twist? Drop me a note below—nothing makes me happier than hearing your berry-filled success stories.
Print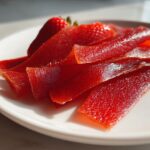
Irresistible 3-Ingredient Strawberry Fruit Leather Recipe
- Total Time: 3 hours 10 minutes - 4 hours 10 minutes
- Yield: 6-8 strips 1x
- Diet: Vegan
Description
A simple and healthy snack made from fresh strawberries, perfect for on-the-go energy.
Ingredients
- 2 cups fresh strawberries, hulled
- 1 tablespoon honey or maple syrup (optional)
- 1 teaspoon lemon juice
Instructions
- Preheat your oven to 175°F (80°C). Line a baking sheet with parchment paper.
- Blend strawberries, honey, and lemon juice until smooth.
- Pour the mixture onto the baking sheet and spread evenly.
- Bake for 3-4 hours until dry but still pliable.
- Let cool, then cut into strips and roll if desired.
Notes
- Store in an airtight container for up to 2 weeks.
- Adjust sweetness with more or less honey.
- Prep Time: 10 minutes
- Cook Time: 3-4 hours
- Category: Snack
- Method: Baking
- Cuisine: American
Nutrition
- Serving Size: 1 strip
- Calories: 25
- Sugar: 4g
- Sodium: 0mg
- Fat: 0g
- Saturated Fat: 0g
- Unsaturated Fat: 0g
- Trans Fat: 0g
- Carbohydrates: 6g
- Fiber: 1g
- Protein: 0.5g
- Cholesterol: 0mg
