Oh, let me tell you about my love affair with pickled banana peppers! It all started when my neighbor brought over a jar of her homemade ones – that tangy, slightly sweet crunch had me hooked instantly. Store-bought versions just can’t compare to making your own pickled banana peppers recipe at home. You get to control the perfect balance of sweet and sour, plus they keep for ages in the pantry. Mine never last that long though – I’m constantly sneaking them onto sandwiches, pizzas, even eggs! Once you taste these crisp, garlicky peppers with that addictive vinegar bite, you’ll understand why I’m obsessed. The best part? They’re ridiculously easy to make.
Why You’ll Love This Pickled Banana Peppers Recipe
Trust me, once you try homemade pickled banana peppers, you’ll never go back to the store-bought stuff. Here’s why this recipe is a game-changer:
- So easy – Just slice, simmer, and jar! Even if you’ve never pickled before, you’ve got this.
- Totally customizable – Like it spicier? Add red pepper flakes. Prefer sweeter? Tweak the sugar. It’s your perfect pickle.
- Lasts forever – Properly sealed, these tangy peppers stay crunchy and bright for up to a year (if you can resist eating them all at once).
- That addictive zing – The garlic and peppercorns give these peppers a flavor punch that’s impossible to resist. I catch myself eating them straight from the jar!
Seriously, these peppers make everything better—tacos, salads, even grilled cheese. You’ll wonder how you ever lived without them.
Ingredients for Pickled Banana Peppers
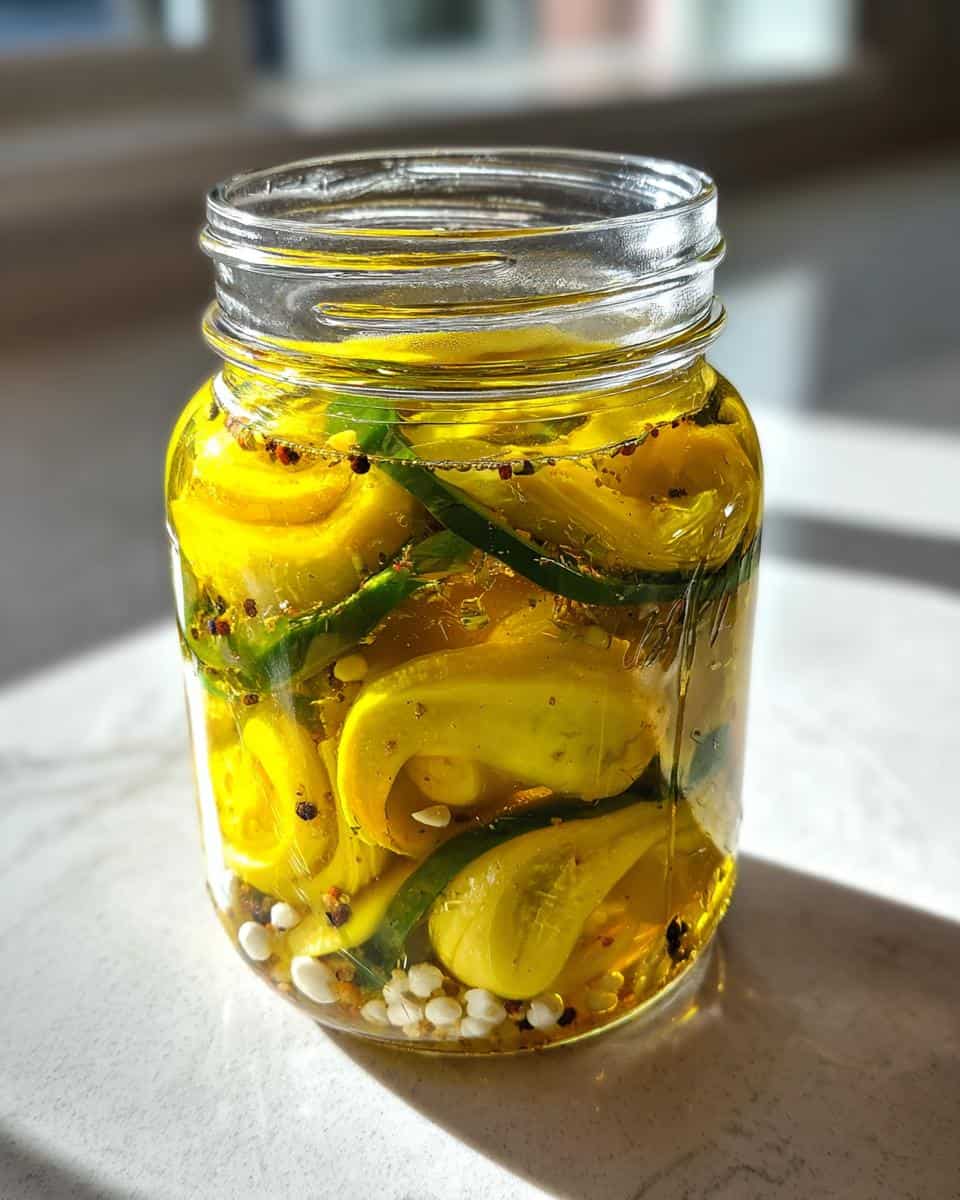
Gathering the right ingredients makes all the difference in these pickled peppers. Here’s exactly what you’ll need – I’ve tested these amounts countless times to get that perfect tangy-sweet balance:
- 1 lb banana peppers – sliced into rings (about 1/4-inch thick)
- 2 cups white vinegar – the backbone of our brine
- 1 cup water – to mellow out the vinegar’s sharpness
- 2 tbsp sugar – just enough to round out the flavors
- 1 tbsp salt – enhances all the other ingredients
- 2 cloves garlic – minced fine (trust me, don’t skip this!)
- 1 tsp black peppercorns – whole, for subtle heat
That’s it! Simple ingredients, but when combined just right, they create something magical. Pro tip: wear gloves when slicing those peppers – I learned that lesson the hard way!
Equipment You’ll Need
Don’t worry – you probably already have most of this stuff in your kitchen! Here’s what you’ll need to make these pickled peppers:
- 2 pint-sized canning jars with lids and bands
- Medium saucepan for the brine
- Rubber gloves (seriously, protect those hands!)
- Sharp knife and cutting board
- Jar lifter or tongs for hot jars
That’s really it! No fancy gadgets required – just good old-fashioned pickling magic.
How to Make Pickled Banana Peppers
Alright, let’s get down to business! Making these pickled banana peppers is easier than you think – I’ll walk you through each step so you get perfect results every time. The magic happens in three simple phases, and before you know it, you’ll have jars of tangy goodness ready to go.
Preparing the Jars and Peppers
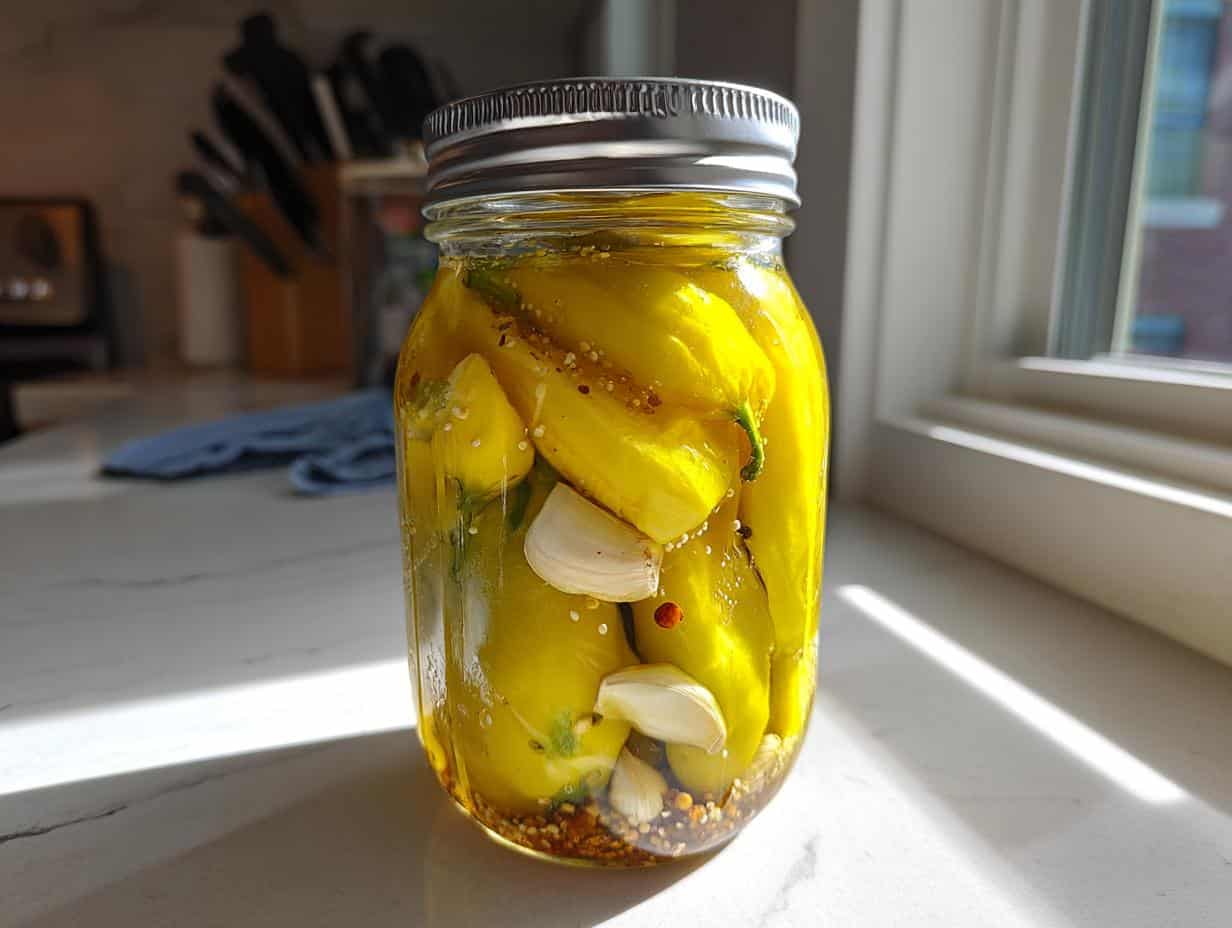
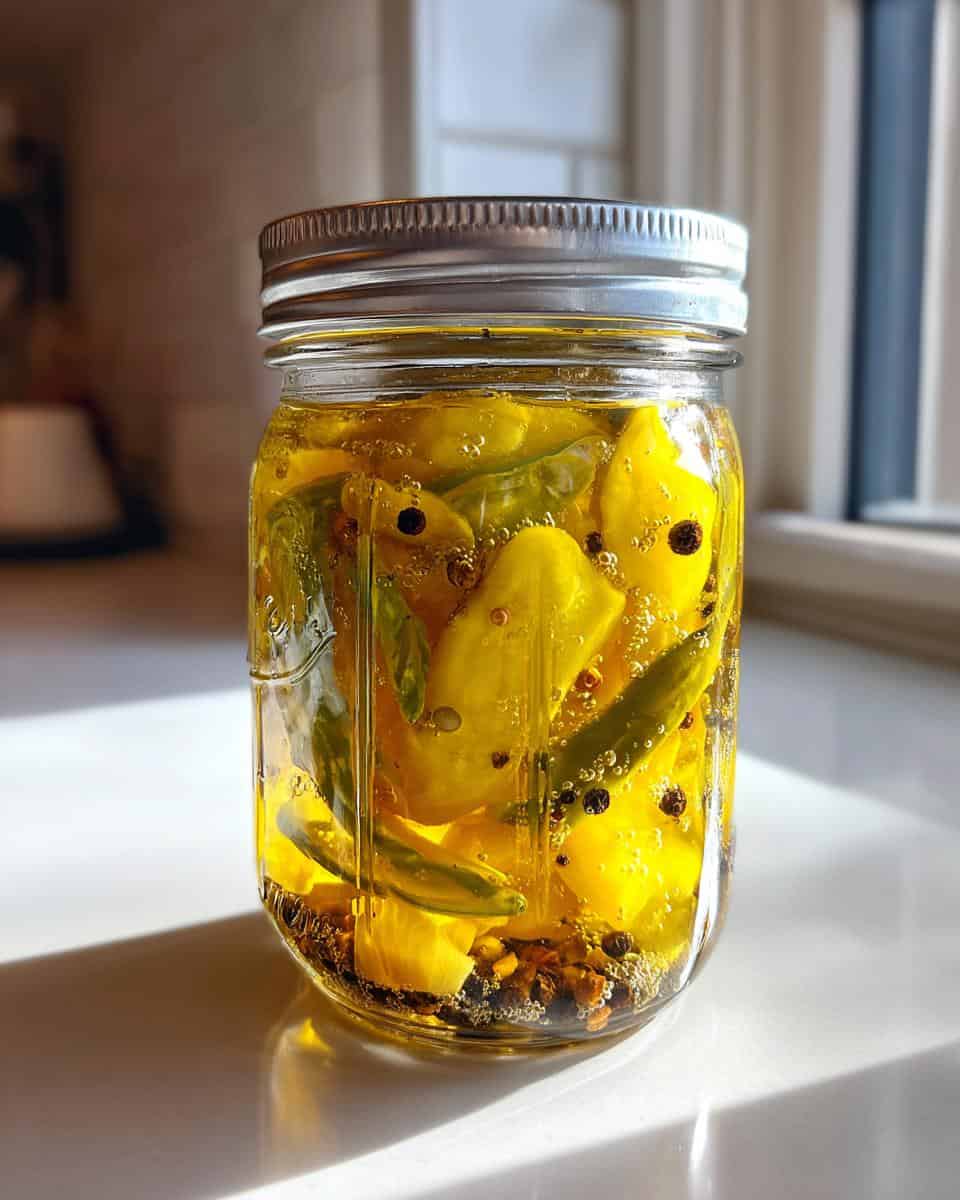
First things first – clean those jars! I always boil my jars and lids for 10 minutes to sterilize them. While they’re boiling, slice your banana peppers into 1/4-inch rings (gloves on, folks – those pepper oils burn!). Pack the sliced peppers tightly into your sterilized jars, leaving about 3/4 inch of space at the top – they’ll shrink a bit during processing. Drop in the minced garlic and peppercorns as you go for even flavor distribution.
Making the Brine
This is where the magic happens! Combine vinegar, water, sugar, and salt in your saucepan and bring it to a rolling boil. Stir until everything dissolves completely. Give it a quick taste – this is your chance to adjust the flavors. Want it sweeter? Add another teaspoon of sugar. More tang? Splash in extra vinegar. Once it’s perfect, keep it boiling while you work.
Sealing and Storing
Carefully pour the hot brine over your packed peppers, leaving 1/2 inch headspace at the top. Wipe the jar rims clean, then screw on the lids finger-tight. Process them in a boiling water bath for 10 minutes – set a timer! After processing, let them cool completely on the counter. The hardest part? Waiting 2 weeks before digging in so the flavors can really develop. But trust me, it’s worth the wait!
Tips for Perfect Pickled Banana Peppers
After making dozens of batches (okay, maybe hundreds), I’ve picked up some foolproof tricks for pickled banana pepper perfection:
- Gloves aren’t optional – I learned this when I rubbed my eye mid-recipe. Ouch! The pepper oils linger on skin for hours.
- Taste your brine before pouring – it should make your lips pucker slightly, then mellow to sweet. Adjust with tiny pinches of sugar or salt.
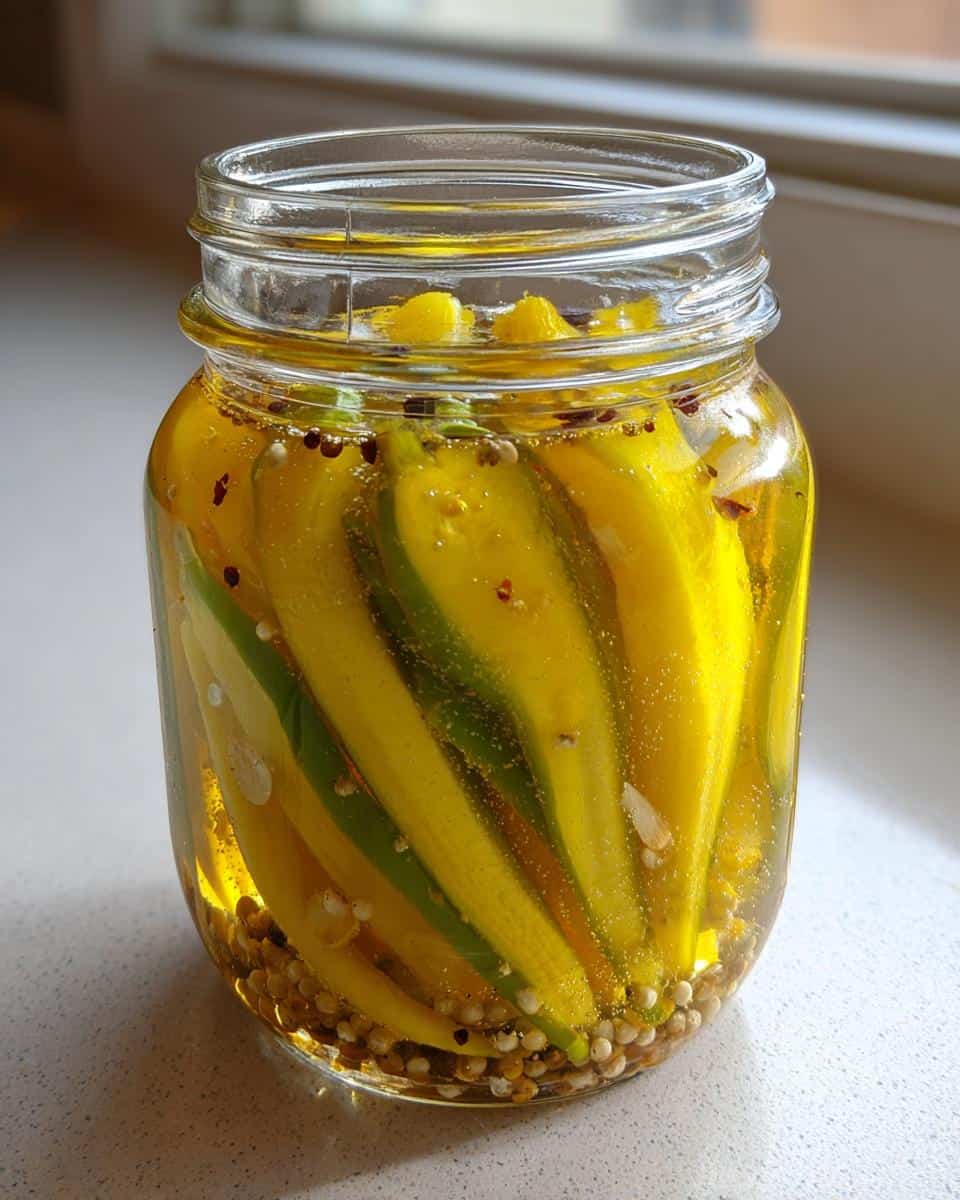
- Store in a dark place – sunlight fades their beautiful yellow color. My pantry’s back corner works perfectly.
- Wait the full 2 weeks – I know it’s tempting, but the flavors need time to marry into that addictive tang we love!
Follow these tips and your peppers will be the envy of every sandwich in town!
Variations for Your Pickled Banana Peppers Recipe
Once you’ve mastered the basic recipe, get creative! Here are my favorite ways to jazz up these pickled peppers:
- Spicy kick – Add 1/2 tsp red pepper flakes or a sliced jalapeño to each jar
- Herb garden twist – Toss in fresh dill sprigs or oregano leaves
- Sweet heat – Swap white sugar for honey or maple syrup
- Smoky depth – Include a pinch of smoked paprika in the brine
My current obsession? Adding a few slices of red onion – it turns the brine the prettiest pink color!
Serving Suggestions
Oh, the ways you can use these homemade pickled banana peppers! They’re more than just a sandwich topper — they’re a flavor bomb waiting to elevate almost any dish. Their tangy, slightly sweet kick adds brightness and crunch to everything from burgers to salads.
One of my go-to uses? Layer them on burgers or deli sandwiches. Whether it’s a stacked club, turkey avocado wrap, or a loaded cheeseburger, just a few rings of these zesty peppers cut through the richness like a charm. For taco night, I toss a handful over beef or chicken tacos — they pair especially well with creamy toppings like sour cream or guac.
Looking for something less expected? Try adding them to potato salad. Trust me on this — the sharp tang balances the creamy mayo perfectly and adds a pop of flavor that’ll surprise (and impress!) your guests.
And don’t stop there! These peppers are fabulous tossed into garden salads, nestled into charcuterie boards (especially next to cured meats and aged cheeses), or used as a spicy-sweet topping for homemade pizza. Whether it’s a classic pepperoni or a veggie-packed pie, the brightness of banana peppers is a total game-changer.
Storage and Reheating
One of the best things about pickled banana peppers? They’re made to last. Once sealed in a sterilized, airtight jar, these peppers can be stored in a cool, dark pantry for up to 12 months. No refrigeration is needed until after opening — perfect for stocking your pantry or gifting to fellow food lovers.
Once you pop that lid, keep your jar in the fridge. Stored properly, they’ll retain their crispness and bold flavor for 2 to 3 months after opening. Just make sure to use clean utensils when scooping them out to avoid introducing bacteria.
Reheating? Not necessary! These pickled peppers are at their best served cold or at room temperature. In fact, warming them up could dull their vibrant flavor and texture, so just enjoy them straight from the jar.
Nutritional Information
These pickled banana peppers are not only flavorful — they’re light and healthy, too. Each ¼ cup serving contains approximately:
- Calories: 15
- Sugar: 2g
- Fat: 0g
- Sodium: ~120mg (depending on your brine)
- Carbs: ~3g
- Fiber: 0.5g
Since they’re pickled in vinegar, they also carry a natural probiotic punch when raw and unheated — a nice bonus for your gut health!
With no added oils or preservatives, they’re a guilt-free way to add excitement to your meals. You can even use a low-sodium brine if you’re watching your salt intake. Plus, they’re naturally gluten-free and vegan, making them a welcome addition to almost any dietary plan.
Frequently Asked Questions
Got questions? I’ve got answers! Here are the pickle queries I get asked most often:
Can I use other peppers? Absolutely! This brine works great with jalapeños, cherry peppers, or even bell peppers. Just adjust the sugar if using sweeter varieties.
How long do they last? Properly sealed jars keep for a year in the pantry. Once opened, refrigerate and enjoy within 2 months (though mine never last that long!).
Why wait 2 weeks to eat them? Patience, grasshopper! The flavors need time to develop fully. That first bite after the wait? Pure magic.
Can I skip the water bath? Not if you want shelf-stable pickles! The bath kills bacteria and creates that satisfying “pop” seal.
Why are my peppers soft? Overprocessing can do this. Stick to the 10-minute bath for perfect crunch every time!
Share Your Pickled Banana Peppers
I’d love to hear how your pickling adventure turns out! Snap a photo of those beautiful jars and tag me – let’s swap pepper stories!
Print
Tangy Pickled Banana Peppers Recipe
- Total Time: 25 mins
- Yield: 2 pints 1x
- Diet: Vegetarian
Description
A simple recipe for pickling banana peppers to preserve their tangy flavor.
Ingredients
- 1 lb banana peppers, sliced
- 2 cups white vinegar
- 1 cup water
- 2 tbsp sugar
- 1 tbsp salt
- 2 cloves garlic, minced
- 1 tsp black peppercorns
Instructions
- Sterilize jars and lids by boiling them for 10 minutes.
- Combine vinegar, water, sugar, and salt in a saucepan. Bring to a boil.
- Pack sliced banana peppers into sterilized jars.
- Add minced garlic and peppercorns to each jar.
- Pour hot brine over the peppers, leaving 1/2 inch headspace.
- Seal jars and process in a boiling water bath for 10 minutes.
- Let cool and store for at least 2 weeks before eating.
Notes
- Wear gloves when handling peppers to avoid skin irritation.
- Adjust sugar and salt to taste.
- Store in a cool, dark place for up to 1 year.
- Prep Time: 15 mins
- Cook Time: 10 mins
- Category: Preserves
- Method: Pickling
- Cuisine: American
Nutrition
- Serving Size: 1/4 cup
- Calories: 15
- Sugar: 2g
- Sodium: 290mg
- Fat: 0g
- Saturated Fat: 0g
- Unsaturated Fat: 0g
- Trans Fat: 0g
- Carbohydrates: 3g
- Fiber: 1g
- Protein: 0g
- Cholesterol: 0mg
