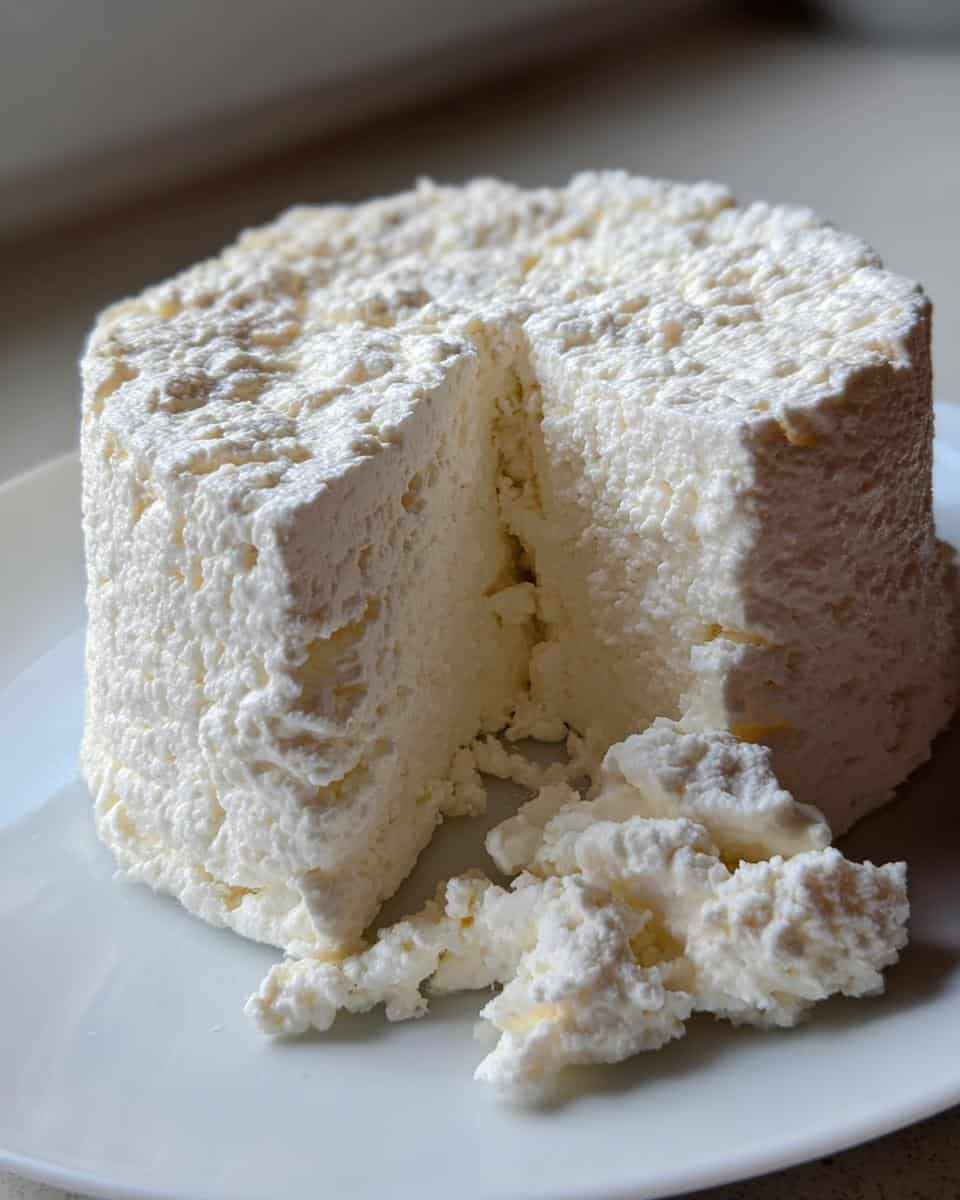
You know that first bite of freshly made queso fresco? The way it crumbles just right over warm tortillas or brightens up a simple salad? That’s what I fell in love with when I started making my own at home. Store-bought versions can’t compare—they’re often too dry or bland. This easy queso fresco recipe changed everything for me. With just milk, acid (vinegar or lemon juice), and a pinch of salt, you get a creamy, tangy cheese that’s ready in about an hour. No fancy equipment, no preservatives—just pure, fresh flavor. Trust me, once you taste homemade, you’ll never go back to the plastic-wrapped stuff!
Why You’ll Love This Queso Fresco Recipe
This recipe is my go-to for so many reasons! First off, it’s ridiculously easy—just three ingredients and about an hour of mostly hands-off time. No complicated steps or fancy gadgets needed. Plus, you can tweak the salt to your taste (I like mine a little extra tangy).
Here’s what makes it special:
- Freshness you can taste: Unlike store-bought versions, homemade queso fresco is creamy and moist, with a bright, clean flavor
- Endless uses: Crumble it over tacos, melt it into quesadillas, or snack on it with fruit
- Total control: You know exactly what’s in it (no weird additives!)
- Quick cleanup: One pot, one colander, done!
Seriously, once you try this, you’ll wonder why you ever bought it pre-made.
Ingredients for Queso Fresco
Here’s all you need to make magic happen:
- 1 gallon whole milk (not ultra-pasteurized – trust me, it makes all the difference!)
- 1/4 cup white vinegar or lemon juice (freshly squeezed if using lemon)
- 1 tsp salt (optional, but I always add it – adjust to your taste)
That’s it! Three simple ingredients for the creamiest, dreamiest homemade cheese you’ll ever taste.
How to Make Queso Fresco
Okay, let’s get to the fun part – turning that milk into creamy, dreamy queso fresco! Don’t worry if you’ve never made cheese before – I’ll walk you through each step. The process is simple, but there are a few key moments where timing matters. Here’s exactly how I do it:
Step 1: Heat the Milk
Grab your biggest pot (I use my trusty 8-quart Dutch oven) and pour in the milk. Medium heat is your friend here – you want it warm gradually. Watch for tiny bubbles forming around the edges and steam rising (about 180°F if you’re using a thermometer). No thermometer? No problem! When you can comfortably dip your finger in for 3 seconds, it’s ready. Stir occasionally to prevent scorching – that milky film on the bottom is NOT what we want!
Step 2: Add Acid and Form Curds
Here’s where the magic happens! Remove the pot from heat and slowly pour in your vinegar or lemon juice while gently stirring. Within seconds, you’ll see the milk transform – it’ll look like fluffy clouds (curds!) floating in yellowish liquid (whey). The vinegar gives a cleaner taste, while lemon adds a subtle brightness. Let it sit undisturbed for 10 minutes – this is when the curds really firm up. If it still looks milky after stirring, add another tablespoon of acid.
Step 3: Drain and Shape the Cheese
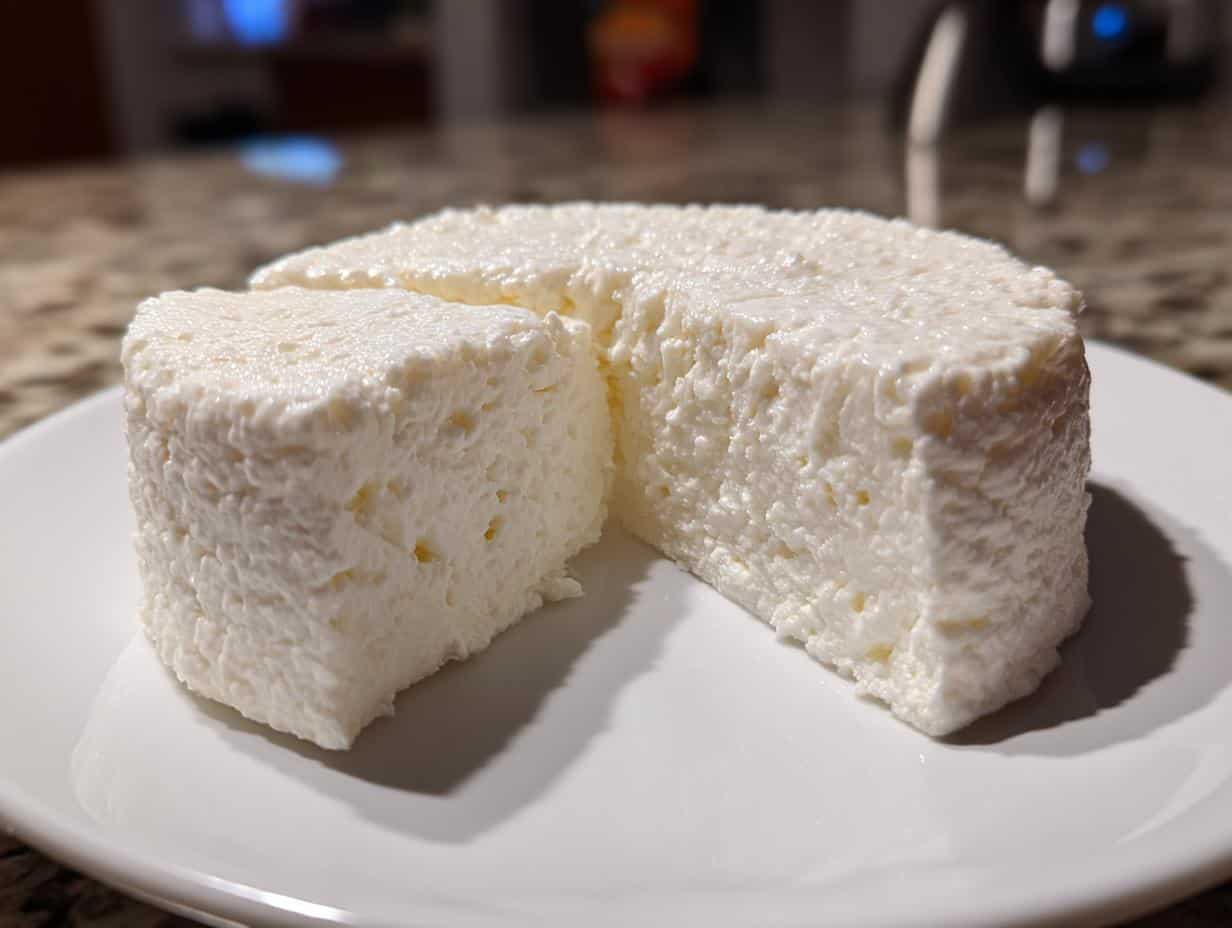
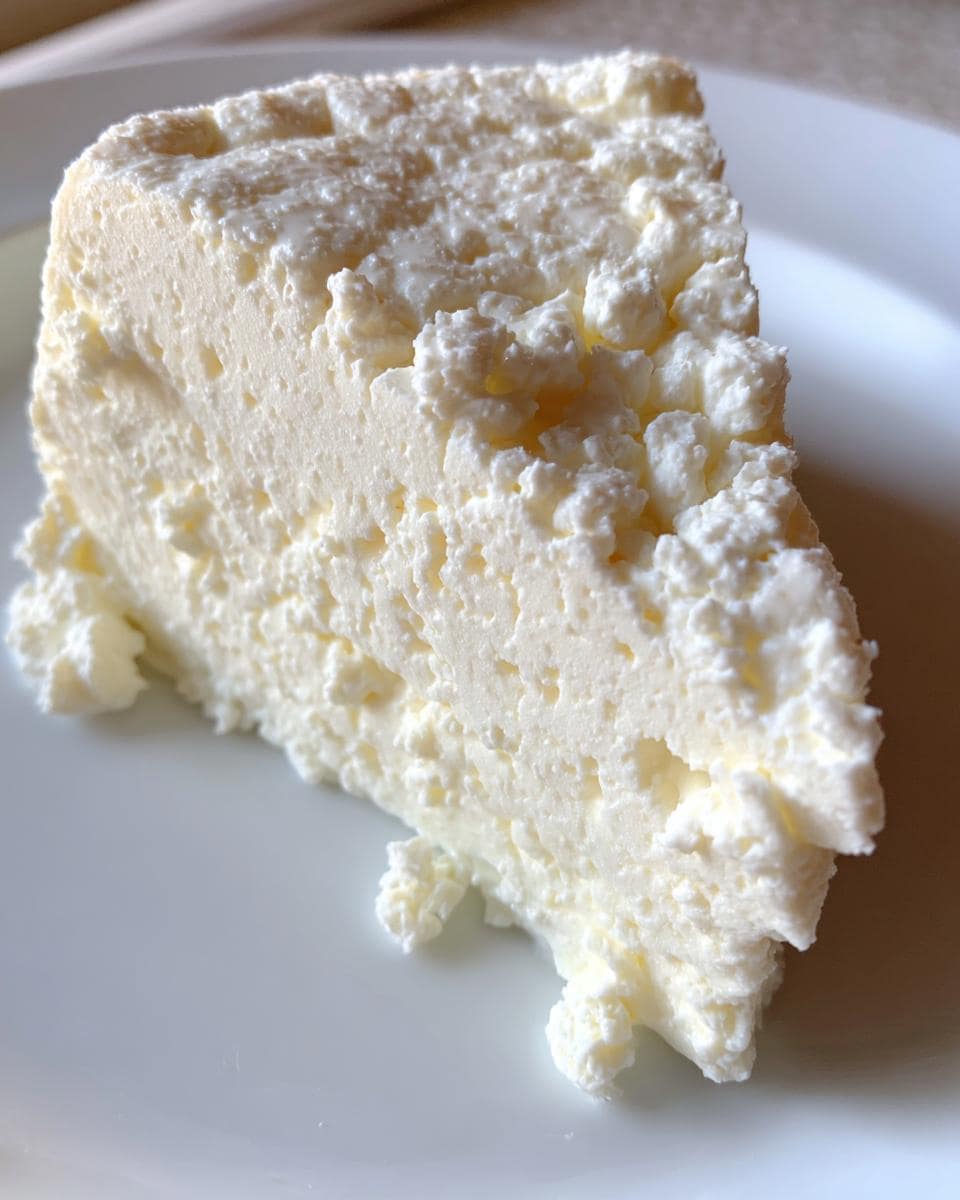
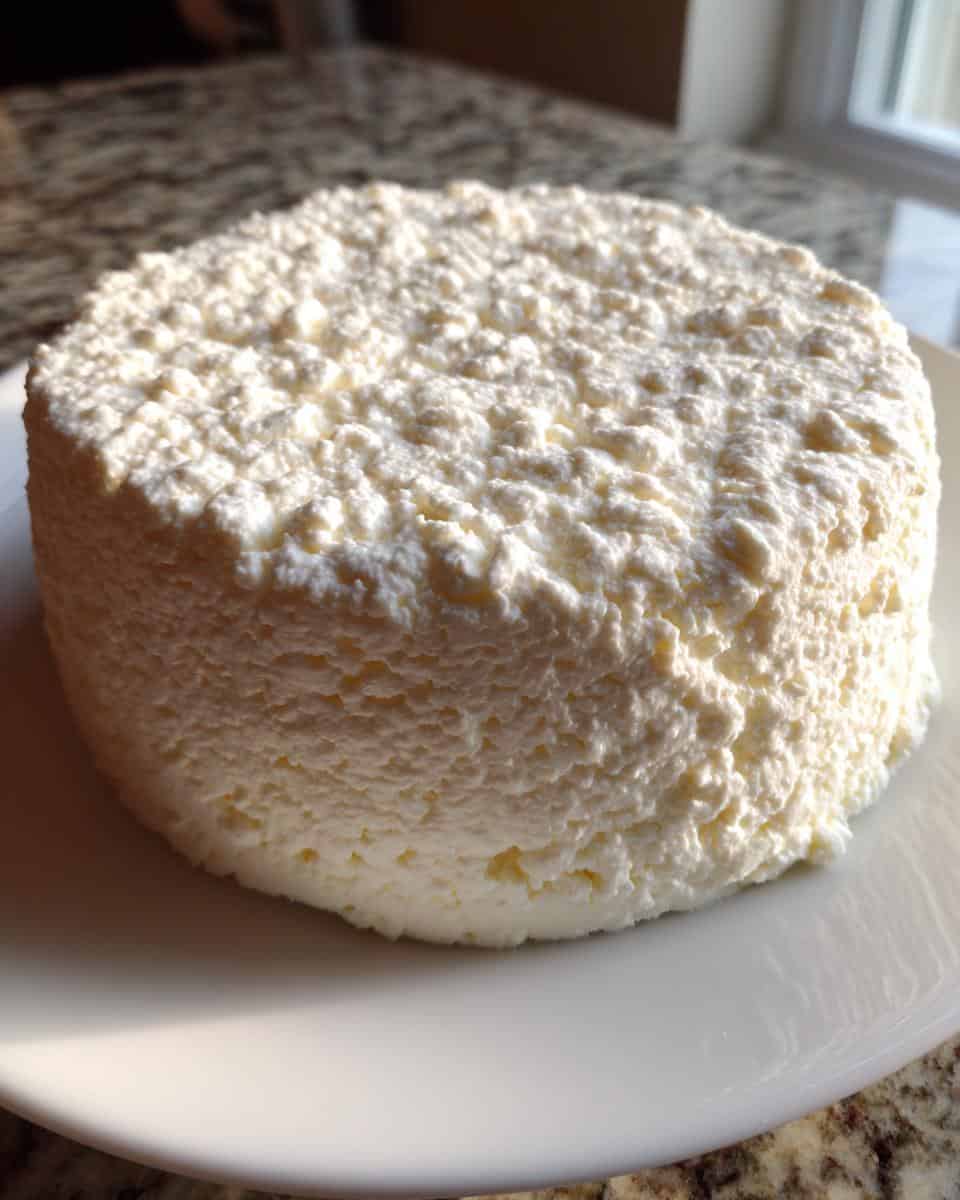
Line a colander with cheesecloth (or a clean, thin kitchen towel in a pinch) and carefully pour in your curds and whey. Let it drain for 5 minutes, then gather the corners of the cloth. Here’s my trick: don’t squeeze too hard! Just a gentle press to remove excess whey keeps the texture light and crumbly. Add salt now if you’re using it – I like to sprinkle and fold it in like I’m kneading dough. Shape it into a disk or block, wrap it back in the cloth, and pop it in the fridge for at least an hour to set. That’s it – you just made queso fresco!
Tips for Perfect Queso Fresco
After making this recipe dozens of times (and yes, a few flops along the way!), I’ve picked up some game-changing tricks:
- Use the right pot: Stick to stainless steel or enameled cast iron – aluminum can react with the acid and give your cheese a metallic taste
- Gentle does it: Stir just enough to incorporate the acid, then walk away! Over-stirring makes rubbery curds
- Salt smart: Always add salt AFTER draining – adding it too early can draw out too much moisture
- Save that whey: Don’t pour it down the drain! Use it in bread dough or smoothies for a protein boost
Follow these, and you’ll get perfect queso fresco every single time!
Queso Fresco Variations
Once you’ve mastered the basic queso fresco recipe, the fun really begins! I love playing with different flavors – try folding in chopped cilantro and minced garlic before shaping for a vibrant kick. For spicy lovers, a pinch of chili flakes or smoked paprika works wonders. Keep it as a crumbly block for salads or press it firmer for slicing – it’s your cheese, your rules!
Serving and Storing Queso Fresco
Oh, the possibilities! Fresh queso fresco is like a blank canvas for your favorite dishes. I love crumbling it over piping hot street tacos—the way it slightly melts but keeps its shape is pure magic. Toss it into corn salads, layer it in enchiladas, or just enjoy it with ripe mango slices for a sweet-salt combo that’ll make your taste buds sing.
Store any leftovers (if you have any!) in an airtight container in the fridge. It stays fresh for about a week, though I promise it won’t last that long. Unlike store-bought versions that dry out, homemade keeps its creamy texture beautifully. Just give it a quick sniff test before using—real cheese should smell fresh and milky, not sour.
Queso Fresco Recipe FAQs
Let’s tackle those burning questions I get asked all the time about homemade queso fresco:
Can I use low-fat milk?
Oh honey, don’t even try it! The fat in whole milk is what creates those beautiful, creamy curds. Skim or low-fat milk just gives you sad, tiny curds that won’t hold together. Trust me, I learned this the hard way—my first batch looked more like grainy soup than cheese!
Why is my cheese rubbery?
This usually happens when we get too excited with the pressing. Remember—gentle is key! If you squeeze all the whey out like you’re wringing a wet towel, you’ll end up with a hockey puck. Light pressure gives you that perfect crumbly texture we love in queso fresco.
Can I freeze it?
I wouldn’t recommend it. Freezing changes the texture completely—it becomes crumbly in a bad way, like chalky cottage cheese. The beauty of this recipe is how quick and easy it is to make fresh batches. If you need cheese in a pinch, just whip up a small batch—it’s ready in an hour!
Nutritional Information
Here’s the scoop on what’s in your homemade queso fresco (remember, these are estimates – your exact numbers might vary slightly depending on your milk brand and how much salt you add):
- Per 1 oz (28g) serving
- 70 calories
- 5g fat (3g saturated)
- 5g protein
- 2g carbs
- 50mg sodium
Not bad for something so delicious, right? The protein and calcium from all that good milk make it a snack you can feel good about!
Final Thoughts
There you have it – my foolproof queso fresco recipe that’ll make you feel like a cheese-making pro! Give it a try this weekend and let me know how it turns out. Tag me with your cheesy creations – I can’t wait to see what you make!
For More Recipes : Facebook, Pinterest
Print
Creamy 3-Ingredient Queso Fresco Recipe You’ll Crave Daily
- Total Time: 1 hour 25 minutes (includes cooling)
- Yield: 12 oz (340g) 1x
- Diet: Vegetarian
Description
A simple and delicious queso fresco recipe you can make at home with minimal ingredients.
Ingredients
- 1 gallon whole milk
- 1/4 cup white vinegar or lemon juice
- 1 tsp salt (optional)
Instructions
- Heat the milk in a large pot over medium heat until it reaches 180°F (82°C). Stir occasionally.
- Remove from heat and add vinegar or lemon juice. Stir gently until curds form.
- Let sit for 10 minutes to allow curds to separate from whey.
- Line a colander with cheesecloth and pour the mixture to drain the whey.
- Add salt if desired and mix gently.
- Press the cheese lightly to remove excess liquid, then shape into a disk or block.
- Refrigerate for at least 1 hour before serving.
Notes
- Use fresh, high-quality milk for best results.
- Store in an airtight container in the fridge for up to 1 week.
- Adjust salt to taste.
- Prep Time: 5 minutes
- Cook Time: 20 minutes
- Category: Cheese
- Method: Stovetop
- Cuisine: Mexican
Nutrition
- Serving Size: 1 oz (28g)
- Calories: 70
- Sugar: 2g
- Sodium: 50mg
- Fat: 5g
- Saturated Fat: 3g
- Unsaturated Fat: 1.5g
- Trans Fat: 0g
- Carbohydrates: 2g
- Fiber: 0g
- Protein: 5g
- Cholesterol: 15mg
