Picture this: you’re hosting a last-minute party, and panic sets in. What can you whip up that’s easy, delicious, and disappears fast? Enter my go-to Cheese Balls Recipe—the ultimate crowd-pleaser that’s saved me more times than I can count. These little bites are creamy, cheesy, and ridiculously simple to make. I’ll never forget the time I brought a batch to my neighbor’s potluck, and they were gone before I even set the plate down. No baking, no fuss—just pure cheesy magic ready in about an hour. Trust me, once you try these, they’ll become your secret weapon too.
Why You’ll Love This Cheese Balls Recipe
Listen, I know you’re busy, and that’s exactly why this recipe is about to become your new best friend:
- No oven required! Just mix, roll, and chill—perfect for hot summer days or when you’re too tired to turn on the stove.
- Endlessly customizable—swap in your favorite cheeses, add a kick of cayenne, or coat them in everything bagel seasoning for fun twists.
- Party hero status guaranteed. I’ve watched even the fanciest guests sneak thirds when they think no one’s looking.
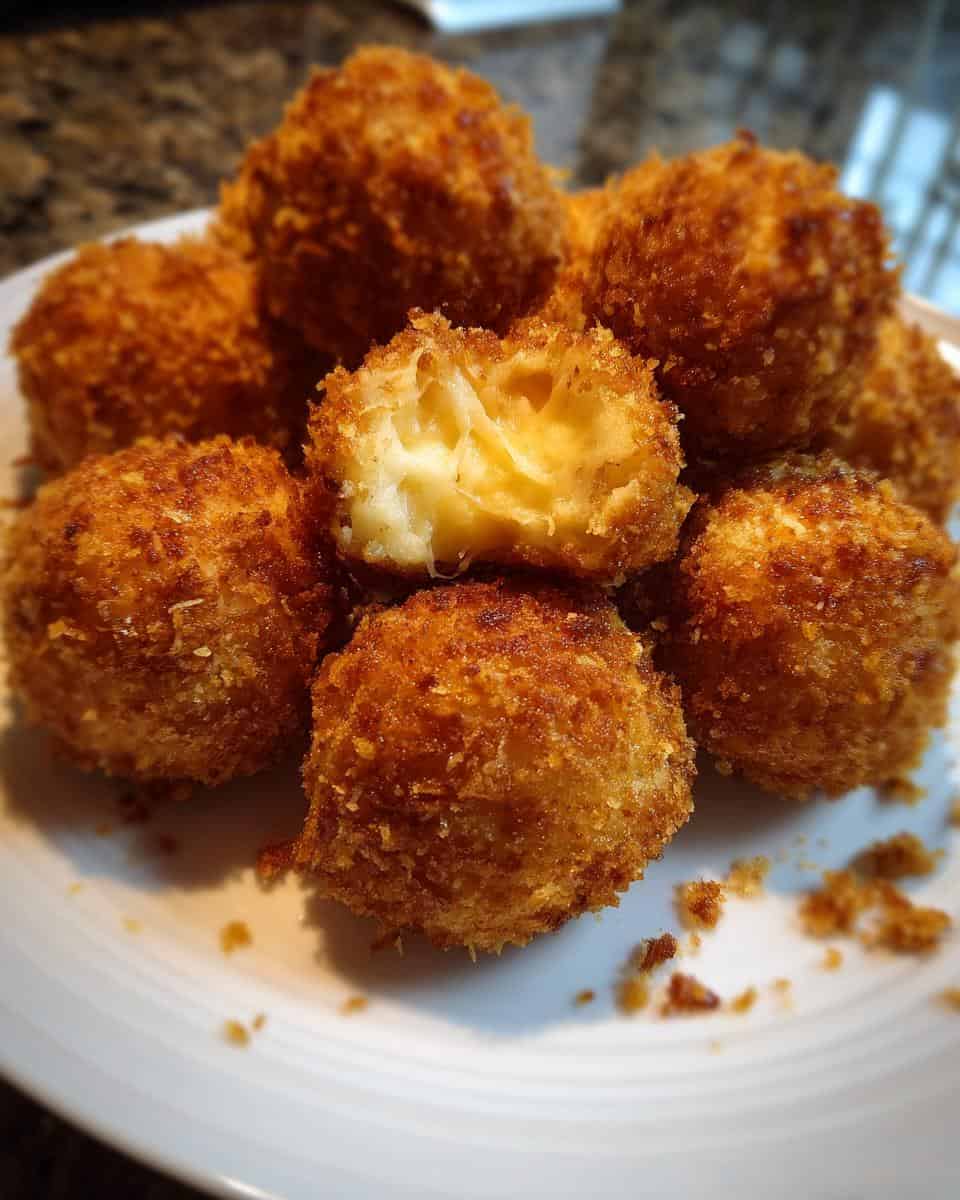
Ingredients for Cheese Balls
Gather these simple ingredients—I promise you probably have most in your fridge right now! The key is using quality cheeses because, let’s be honest, that’s where all the flavor happens:
- 2 cups shredded cheddar cheese – Sharp cheddar gives the best punch, but mild works too if that’s your jam
- 1 (8 oz) package cream cheese, softened – Leave it on the counter for 30 minutes first—this makes mixing so much easier
- 1/2 cup grated Parmesan cheese – The powdery kind from the green can works, but fresh-g it up it up a notch
- 1/4 tsp garlic powder – Just enough to whisper “hello” without overpowering
- 1/4 tsp onion powder – Its sneaky umami boost makes people ask “what’s that delicious flavor?”
- 1/2 cup chopped nuts or breadcrumbs – Pecans are my fave, but pretzel crumbs make an awesome salty crunch
See? Nothing fancy—just cheesy goodness waiting to happen!
How to Make Cheese Balls
Alright, let’s get rolling—literally! This is where the magic happens, and trust me, it’s so easy you’ll wonder why you ever bought pre-made ones. Just follow these simple steps, and you’ll have perfect cheese balls every single time.
Step 1: Combine the Cheeses
First things first—grab that softened cream cheese (if you forgot to take it out earlier, no worries! Just nuke it for 10-15 seconds to soften). In a big bowl, throw in the cream cheese, cheddar, Parmesan, garlic powder, and onion powder. Now, here’s my secret: use your hands! Okay, fine, a spoon works too, but I swear squishing it all together with your fingers mixes everything better and faster. You’re looking for a smooth, uniform mixture where no streaks of cream cheese remain. If it feels too stiff, a splash of milk (like a teaspoon) loosens it right up.
Step 2: Shape and Coat
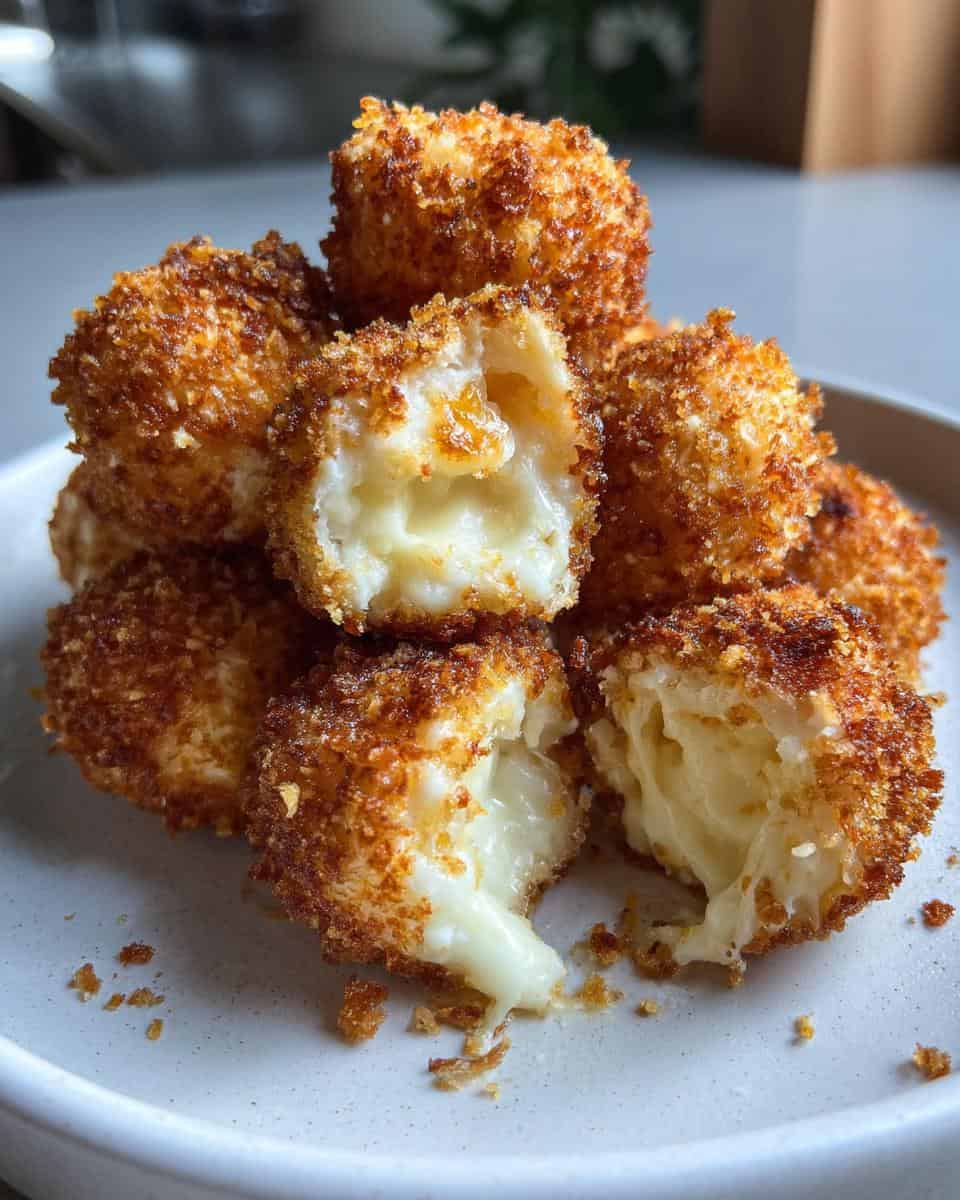
Time to get a little messy—and isn’t that half the fun? Scoop up about a tablespoon of the mixture and roll it between your palms into a neat little ball. Pro tip: if the cheese sticks to your hands, lightly wet them with cold water first. Now, roll each ball in your coating of choice—I love pecans for their crunch, but breadcrumbs or even crushed pretzels add awesome texture. Press gently so the coating sticks well. Repeat until all your cheesy goodness is transformed into adorable little orbs of joy!
Step 3: Chill Before Serving
Here’s the hardest part—waiting! Pop those beauties in the fridge for at least an hour (though overnight is even better). This chilling time is crucial—it firms them up so they hold their shape and lets the flavors meld together. Trust me, that first bite of a properly chilled cheese ball? Absolute perfection. Serve them straight from the fridge with crackers or veggie sticks, and watch them disappear!
Tips for Perfect Cheese Balls
After making approximately a zillion batches (okay, maybe dozens), here are my hard-earned secrets for cheese ball success:
- Patience with the cream cheese! Seriously, let it soften completely—you’ll avoid lumpy cheese ball tragedy.
- Toast those nuts if using them—just 5 minutes in a dry pan makes the coating extra fragrant and crisp.
- Chill the mixture for 15 minutes before rolling if it’s too sticky—saves your sanity during shaping.
- Double the batch because these disappear faster than you can say “cheese!”
Cheese Balls Variations
Oh, the possibilities! Once you’ve mastered the basic recipe, it’s time to play. My favorite way to mix things up? Swap the cheddar for pepper jack and add a pinch of smoked paprika—instant fiesta vibes! For herb lovers, stir in chopped fresh chives or rosemary. Feeling fancy? Roll them in crumbled bacon or everything bagel seasoning instead of nuts. The best part? No matter what you try, they’ll still be irresistibly cheesy!
Serving Suggestions for Cheese Balls
This is your moment to shine—cheese ball style! These tasty bites are a guaranteed crowd-pleaser, and how you serve them can take them from simple snack to showstopper. I love placing them on a large platter surrounded by buttery crackers—the kind that crumble perfectly with each bite. Want to lighten things up? Add crisp apple slices, celery sticks, or vibrant bell pepper strips for a fresh, crunchy contrast that pairs beautifully with the creamy cheese.
Here’s my secret weapon: a small bowl of hot pepper jelly on the side. That sweet-and-spicy kick takes things to the next level and keeps people coming back for more. It’s the kind of unexpected pairing that makes guests ask, “What’s in this?!” and then head straight back for seconds.
Trust me, once you set this platter down, you won’t need to say a word. Just sit back and watch the cheese balls disappear!

Storage and Reheating
These cheese balls are the ultimate make-ahead snack—perfect for prepping ahead of time or saving a few (if they don’t all disappear right away!). Simply store any leftovers in an airtight container and keep them in the refrigerator for up to 3 days. No reheating required! Just take them out about 10 minutes before serving to let them come to room temperature and bring back that creamy, spreadable texture.
Want to store them even longer? You can freeze them! Wrap each cheese ball tightly in plastic wrap, then place in a freezer-safe bag or container. They’ll keep well for up to 1 month. To serve, let them thaw in the fridge overnight and set them out shortly before guests arrive.
Honestly though, they’re so delicious and crowd-pleasing, you may never actually get the chance to store them—these cheesy bites tend to vanish fast!
Cheese Balls Recipe FAQs
Can I freeze cheese balls? Absolutely! Freeze them on a baking sheet first (so they don’t stick together), then transfer to a freezer bag. They’ll keep for a month—just thaw overnight in the fridge before serving. The texture stays perfect!
What’s the best cheese substitute for allergies? For dairy-free, try equal parts vegan cream cheese and shredded plant-based cheddar. The flavor won’t be identical, but adding extra garlic powder and smoked paprika helps bridge the gap.
Why did my cheese balls turn out crumbly? Usually means the cream cheese wasn’t soft enough or you overmixed. Next time, let the cream cheese sit out longer and mix just until combined—no need to overwork it.
Can I make these ahead for a party? You bet! They actually taste better after 24 hours in the fridge. Just coat them right before serving so the toppings stay crisp.
Nutritional Information
Alright, let’s talk numbers—but don’t worry, I won’t make this boring! Here’s what you’re looking at per cheese ball (because let’s be real, no one stops at just one): about 80 calories with 4g of protein to balance out that glorious cheesiness. The exact numbers will dance a bit depending on your cheese brands and whether you go nuts with the pecans or keep it simple with breadcrumbs.
Important note: these little flavor bombs do contain a fair amount of sodium (around 120mg per ball) thanks to all that delicious cheese, so if you’re watching your salt intake, you might want to use low-sodium cheeses or go easy on the coatings.
Remember: Nutritional values vary based on ingredients used. But hey, we’re here for the joy of cheese, not a math test—so enjoy every bite without overthinking it!
Print
Irresistible Cheese Balls Recipe Ready in Just 1 Hour
- Total Time: 1 hr 10 mins
- Yield: 20 cheese balls 1x
- Diet: Vegetarian
Description
A simple and delicious cheese balls recipe perfect for parties and snacks.
Ingredients
- 2 cups shredded cheddar cheese
- 1 (8 oz) package cream cheese, softened
- 1/2 cup grated Parmesan cheese
- 1/4 tsp garlic powder
- 1/4 tsp onion powder
- 1/2 cup chopped nuts or breadcrumbs for coating
Instructions
- In a bowl, mix cheddar cheese, cream cheese, Parmesan cheese, garlic powder, and onion powder until well combined.
- Shape the mixture into small balls.
- Roll each ball in chopped nuts or breadcrumbs.
- Refrigerate for at least 1 hour before serving.
Notes
- Use room-temperature cream cheese for easier mixing.
- For extra flavor, add a dash of hot sauce or paprika.
- Store leftovers in an airtight container in the fridge for up to 3 days.
- Prep Time: 10 mins
- Cook Time: 0 mins
- Category: Appetizer
- Method: No-Bake
- Cuisine: American
Nutrition
- Serving Size: 1 cheese ball
- Calories: 80
- Sugar: 0.5g
- Sodium: 120mg
- Fat: 6g
- Saturated Fat: 3.5g
- Unsaturated Fat: 2g
- Trans Fat: 0g
- Carbohydrates: 2g
- Fiber: 0g
- Protein: 4g
- Cholesterol: 15mg


